 Happy Egg Farm
We’ve been through two main iterations of chicken housing. The first houses were portable, sort of, and short. These were very difficult to work in because of the height, and our primary lesson from those was to make the roosting area tall enough for us to stand up in.
Our second design was stationary, around 10 feet square, with around 8×10 of auxiliary “annex” space for storing feed in cans, empty egg cartons, etc. This also gave us an “air lock” to be able to enter the space one door at a time, in case someone got ambitious about escaping in the wrong direction. This system worked out well for many years, but the biggest drawback was not being able to move them. This wasn’t the end of the world, because our property was small enough and had topographic constraints that meant we didn’t really have anywhere else ideal to put them. But the ground around the entryway was pretty well beat down.
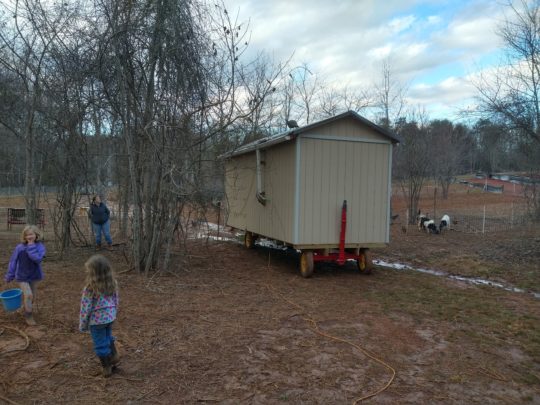
When we moved to our new larger farm, we knew we needed to have a chicken house on wheels. There are some common mission requirements that apply to all of our chicken housing:
-It is a sleeping area, because they will be out of the house during the day. If the birds are going to be confined, then the space requirements increase by an order of magnitude.
-There will be an automatic door that secures them after sunset and lets them out after sunrise, because those are the times that I’m asleep.
-It would need good ventilation capability while not being too drafty
-There will be an automatic water system that collects rainwater and dispenses it to the birds via drinking nipples
-We need space for the feeders that are made from 55-gallon drums
-It needs to be easy to clean out for the couple times per year of litter refresh
-It doesn’t need to justify its cost in the business sense because the housing serves us. Poor housing costs us time and frustration, and our time is very expensive.
-Preferably, we can collect eggs from outside of the structure
-We need storage space for things that aren’t in the chicken area, like feed (we use steel trash cans to store bags), bedding, empty egg cartons, etc.
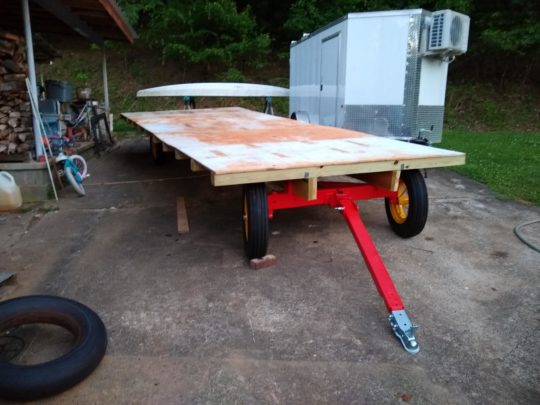
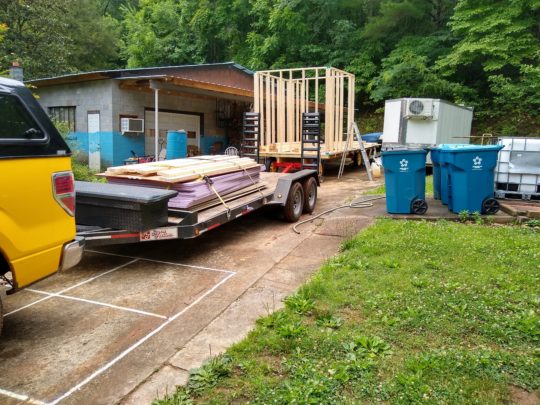
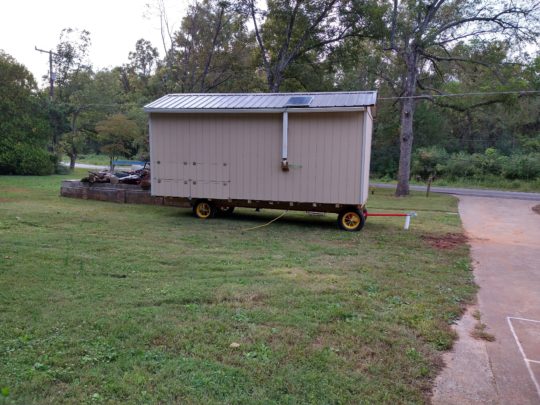
Our starting point for a mobile house was a hay wagon. Hay wagon running gears are built for plenty of weight. They have high ground clearance, and thankfully they are available. We found one on Craigslist, or maybe it was Facebook Marketplace, and went to check it out. The one that we were there for would have worked out, but the seller also had a larger wagon in better shape, which we were able to purchase instead.
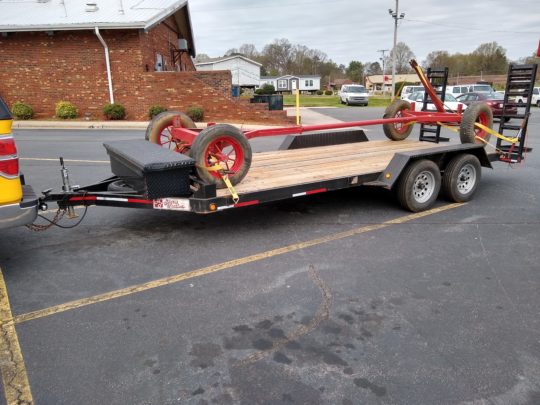
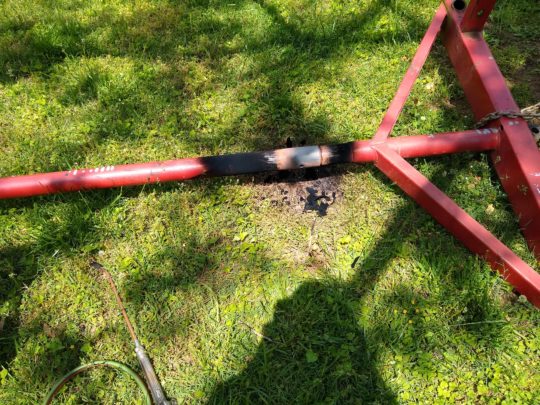
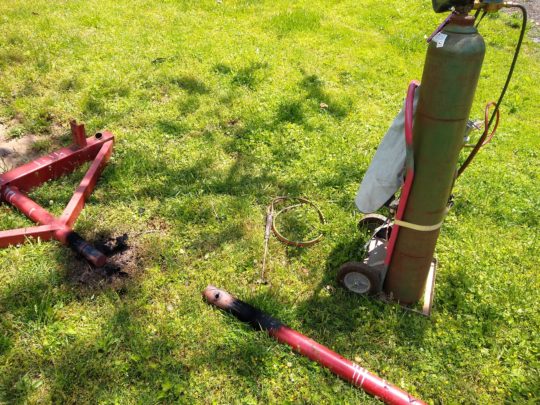
This wagon was in good shape but it still wasn’t perfect. We don’t know how old it is, but I’d guess at least 50-60 years, maybe more. The length is established by the center pipe. The first step was to take everything apart and refinish the steel. The easier way to do this was to haul the parts down to the powder coating place, where they did a nice job for us. It was a little hard to get the center pipe removed. After securing one end to a big tree and the other end to a vehicle didn’t work, I used a rosebud tip on the O/A torch to apply some heat. The heat combined with the first method worked.
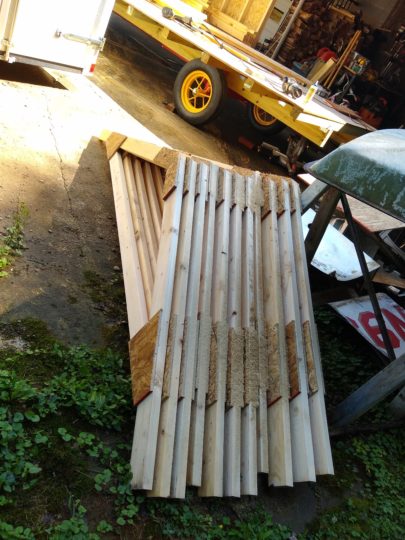
From there we laminated some pressure-treated 2×8 lumber to make the two front-rear beams, staggering the joints to end up with an overall length of 20 feet.
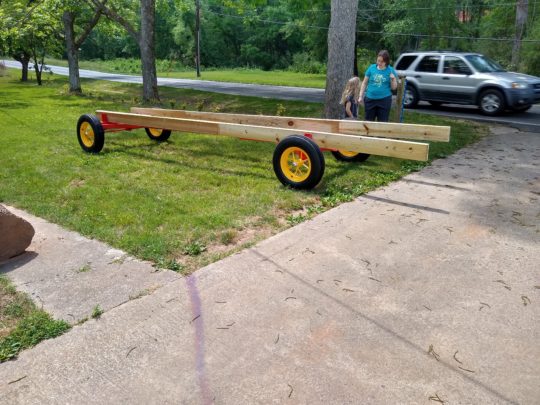
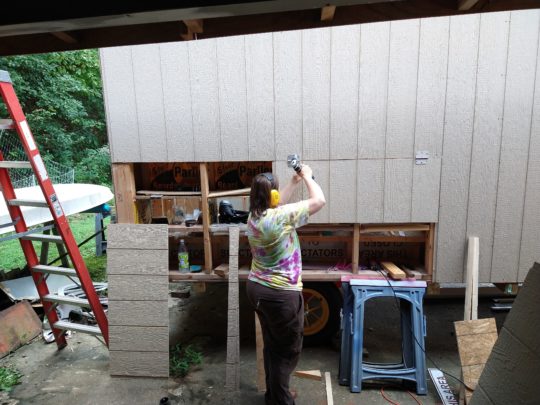
Then we used steel Simpson ties to attach the 8′ pressure-treated 4×4 posts every 24 inches, topping it off with a 3/4 exterior plywood. Some of these material choices were based on what we had laying around, though the 8′ width was useful for the plywood floor and siding.
From there it was just like building a shed, or at least sort of like building a shed. We used the new wagon deck as a work surface, making a template to build the roof trusses. These were made from 2×4 lumber gusseted with OSB.
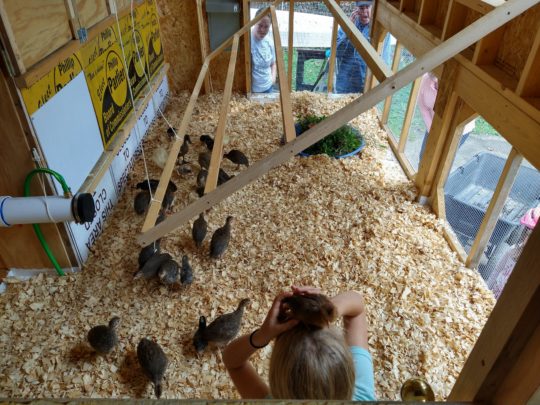
The floor plan included some built-in cabinets in the chicken area. The lower portion of the cabinets were intended to be nest boxes, though we haven’t fully developed those yet. The upper portion is sized to fit a bale of floor shavings. We found the doors at the local Habitat for Humanity store, which sells reclaimed materials.
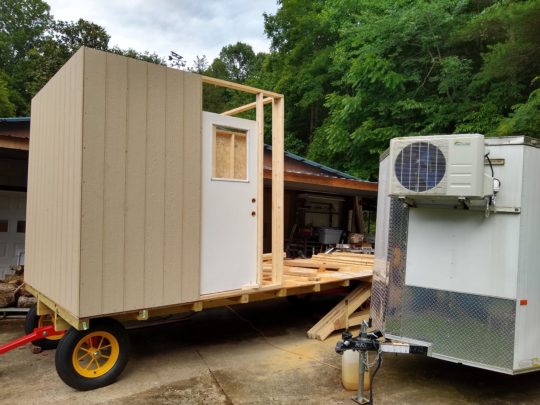
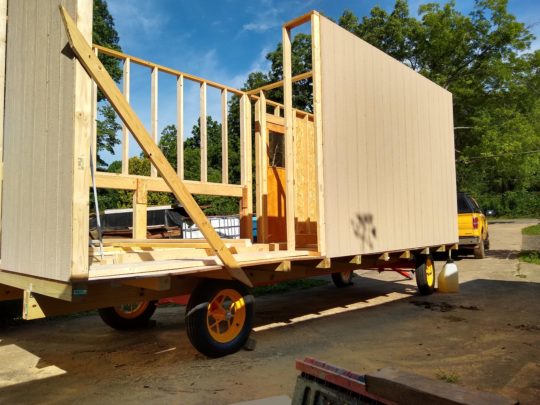
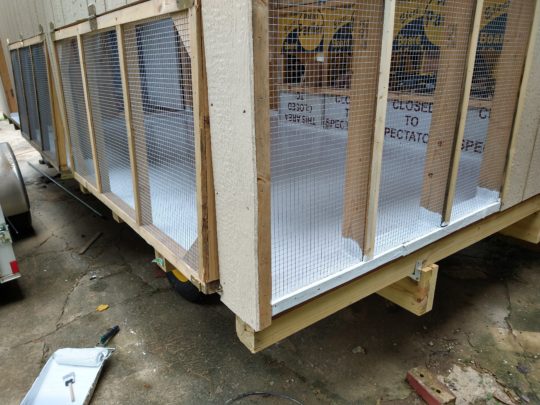
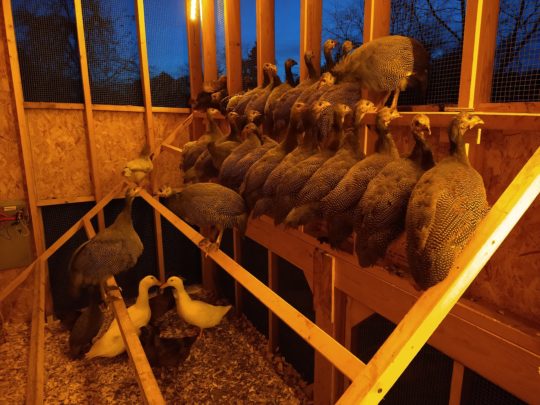
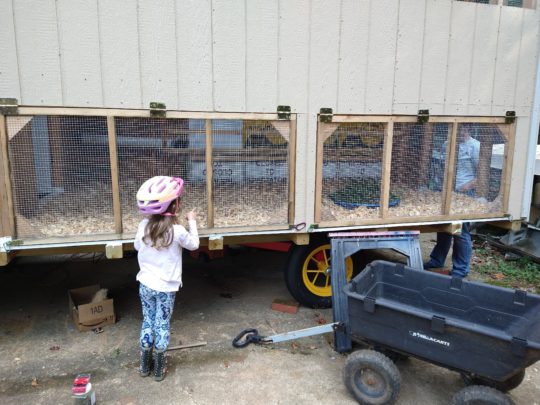
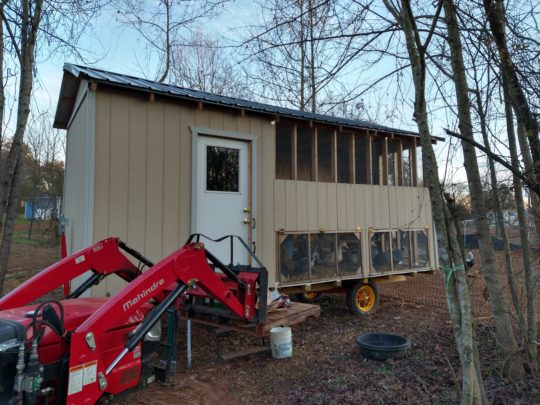
The wall with the cabinets is solid, and the opposite wall and back of the wagon are ventilated with half inch hardware cloth. The lower hardware cloth sections on the side are hatches that can be opened for cleanout. There is a strip of siding in the middle of the wall, to help act as a wind break in the winter.
We coated the floor with a material that is intended to go on RV roofs, though I’m not sure that was a great idea. Time will tell I suppose. We are hoping to delay the inevitable rotting of the floor.

The roost is hinged where it attaches to the side wall, so that we can hoist it up for cleanouts.
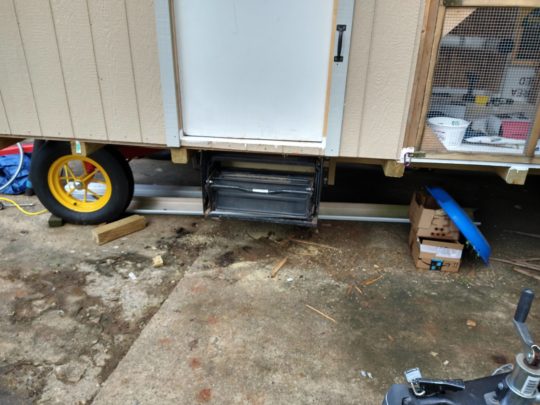
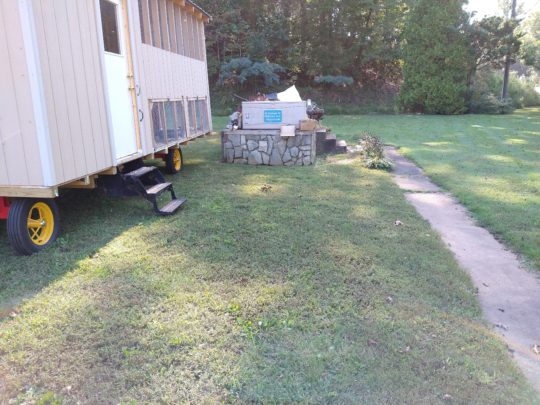
We found a used set of retractable RV steps to add under the side door, and installed a gutter and a rainwater collection system.
The rainwater system uses pieces and fittings of 4″ drain pipe to catch the gutter downspout, then flow into a 55-gallon barrel inside the annex. The water flows from that barrel into another 4″ drain pipe with the orange drinking nipples, and there is also an overflow tube that vents overboard once the barrel gets full. All of those systems are heated with an electric pipe heater, though last winter I don’t think we plugged it in. We also installed LED light strips in the roost area and annex, which are powered by a 100ah lead acid battery. This battery is charged by a 100w solar panel and a cheap MPPT controller. This system could also power an electric fence charger, but at the moment we haven’t needed it to.
We added an automatic door from Ador which is also powered by the 12v system. The electric door leads to a 2x6x12 board, which we have to remove when relocating the trailer. Experience has shown that we also need to drive a stake in the ground right next to where the ramp reaches the ground, so that we can anchor the lower end of the ramp. Otherwise the goats play with it and knock it off, because naturally the 12′ of leverage is too much for any attachment options. Occasionally small goats have been motivated to climb the ramp and enter the house. Our goats can’t speak English but I suppose if I asked them why they would want to go in the chicken house, they would probably ask why not?
I didn’t fully appreciate how difficult the hay wagon would be to maneuver, at least in reverse. A typical single or double axle trailer is rigid from the coupler back to the axle, so backing it up is just a matter of turning the wheel the right way. But with the hay wagon, the tongue is attached to steerable wheels, so in addition to all of the usual difficulties with backing up a trailer, we have the added challenge of it always wanting to jackknife. Backing up with the pickup truck is nearly impossible, because I can’t see the tongue well enough to preempt this. It is much easier (though still hard) to use the tractor with a 3-point hitch adapter, because at least in that case we can see the tongue. Moving it in a forward direction is no problem at all, once we remember how tall and wide it is, so we can miss the trees.
Proudly powered by WordPress.
Theme: Flat by YoArts.