 Happy Egg Farm
For years we’ve had good results with these simple and inexpensive home-made chicken feeders. The pipe is 4″ PVC drain pipe, which is much thinner and cheaper than heavier schedule 40 PVC. We get two 10-foot lengths of the sewer pipe from the local home store and use it to make two feeders with a little left over. After removing the end bell we cut one pipe in half to create the vertical portions. These end up being just a little bit less than 5′, which is a good ergonomic height. If you’ll be making a feeder to be serviced by smaller people, then you can cut the pipes shorter and make even more feeders from the same amount of pipe- you’ll just have to fill them more often. The pipe is easy to cut with a hand saw, which is good to know if you need to go shopping for it without a truck. Just cut the long pipes in half in the parking lot!
Next we cut off about a foot of another pipe for the horizontal section. Don’t make this one much longer than a foot, since it will just complicate feed delivery. Add on two caps like this per feeder, plus two elbows like these.
Then, use something to cut a big access hole in the side of the 1′ piece:
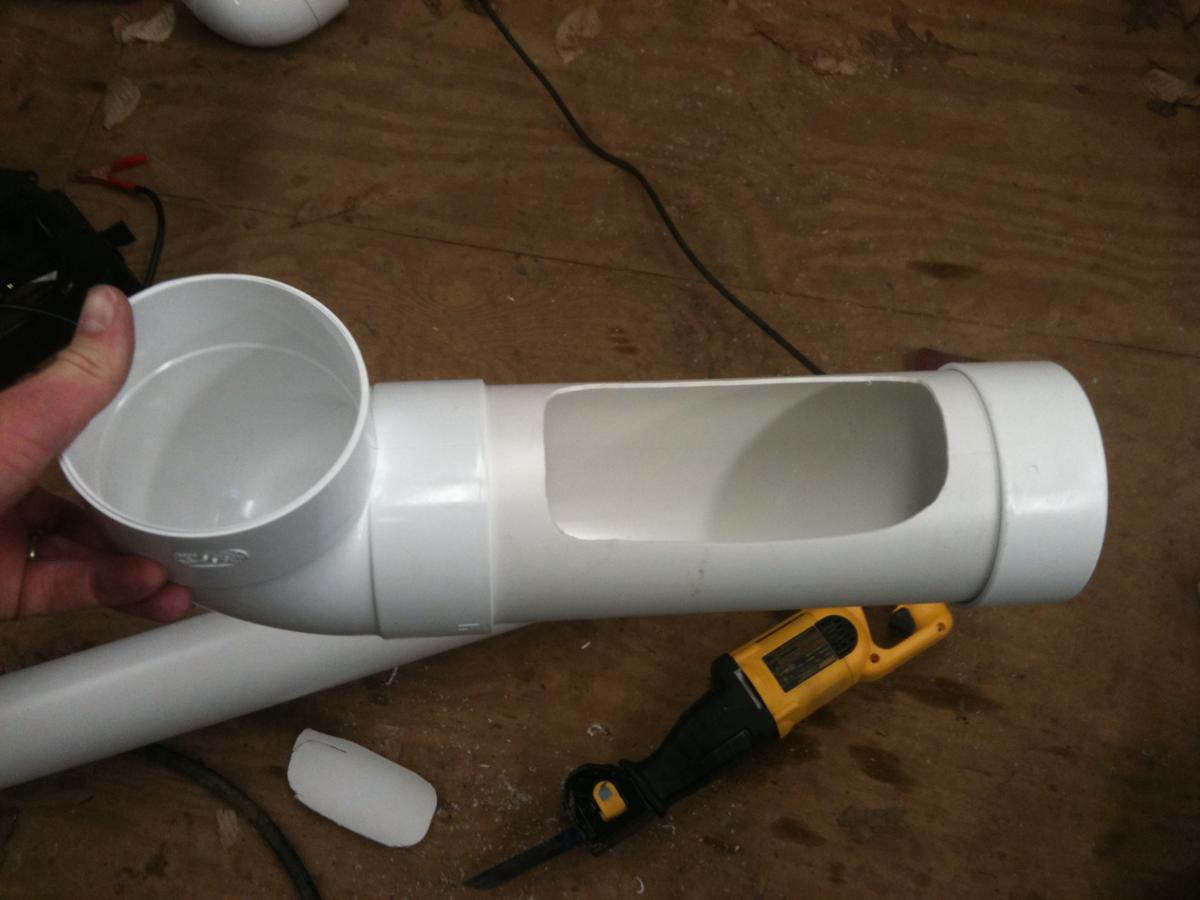
Here’s one way to do it
The rectangle hole in this picture works pretty well, but it is hard to make. An easier option is to use a hole saw in a drill turning backwards. Two holes on the order of 2-3.5 inches will be plenty of access for most chickens, and there isn’t any need to connect the two holes even. After cutting some sort of chicken access in the side of the short pipe, put a cap on one end and the elbow on the other. Then attach the long pipe to the other end of the elbow with it pointing up on the same side as the access holes. Put the other cap on top of the long end and mount it to the house!
Here are a few things that we’ve learned from experience. First, don’t glue the fittings together. There will be plenty of friction to hold them, and you’ll probably want to get them apart to clean them periodically. Add a little bit of tape around the seam at the bottom of the long pipe to keep water out. The tape isn’t necessary at the junction where the short pipe goes into the elbow, just where the long pipe goes in. Don’t forget to put the top cap back on after you service the feeder! Especially if the pipe is outside of the house. If you forget and it rains, you’ll have a pipe full of nasty stuff in no time, and a good chance to try out the cleaning procedure. We find that it works best to have the top of the long pipe accessible outside of the chicken house, so that we can add feed more easily.
This type of L or J feeder works well with pellets and crumbles, and we’ve not had any trouble with the chickens cleaning it out completely when they get to the bottom. You can make several and put them to use today! Here is your shopping list for two feeders, and you’ll end up with enough scrap to have a good start on your next two:
- 2 10′ Pieces of 4″ PVC Drain/Sewer Pipe
- 4 4″ PVC Drain Caps (be sure to get the thin drain caps, the schedule 40 costs more and won’t fit)
- 2 Close 4″ PVC Elbows
- A 4″ hole saw to make a hole in the side of your chicken house (optional)
- Another hole saw sized to give the chickens access to the food, around 2-3.5″ or so
- A little bit of tape (we use aluminum foil tape) to seal the joint where the long pipe meets the elbow
-
That’s it! Post a comment if you’ve found a way to make this type of feeder work better, build faster/cheaper, or what to watch out for.

Here’s a visual list for your shopping trip. Just add another long piece of pipe if you are going to make two feeders!